This blog post is brought to you by our very own Justin! Justin is our talented curriculum director and a long standing member of the Animation Mentor Crew. Not to mention, he’s also an Animation Mentor alum 🙂 Justin’s creative talent has not only sharpened his animation eye but has also led him to become quite the Maya guru. In this post, Justin talks about the newest features in Maya 2016 and how you can use these new toolsets to improve your animation performance and sculpting.
So before you get frustrated, remember that Maya is just a piece of software…have fun with it! We’re here to help you along the way.
-The Animation Mentor Crew
—
- Maya Interface
- Animation Tools
- Look Development
- Sculpting Tools
- Hotkey Editor
- Hide on Playback
Efficiency in animation is extremely important to me and Autodesk has taken that idea to heart in their latest of release of Maya 2016. I got my hands dirty with Maya 2016 to check out some of the new features and wanted to share my thoughts with you.
The first thing you’ll notice when opening Maya 2016 is that the interface has undergone a major facelift. The design aesthetic is much cleaner and many menus and shelves have been reorganized, consolidated, and in places renamed. In general like things have been grouped together, making finding tools and/or features much more intuitive.
If you’ve been using Maya for a while it may take you a moment to get used to the new layout, but you’ll see how much more logical the layout is now. It’s great to see the Maya team making these types of changes. On the surface they can seem like small things, but anything to help keep me focused on animating and not hunting for a tool is awesome.
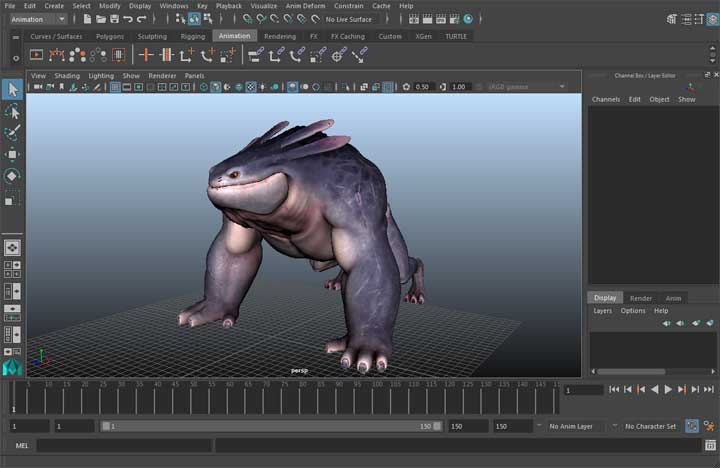
Maya 2016 Interface
Two changes that immediately caught my eye:
- A button for the Hypershade window has been added to the toolbar, grouped with the render tools. In every previous version of Maya, I’ve added this as a custom button in one of my shelves. It’s really nice to see that small change! It feels like a very logical inclusion to that toolset and will make my life a touch easier. Thanks Autodesk!
- The Playblast tool has been added to the Animation shelf. That. Is. Tight. As an animator, how often do you create playblasts to review your work? All the fricken time! No more right-clicking the timeline to create a playblast. Instead you can use that button on the shelf, OR, map it to a hotkey (I’m looking at you F1 key).
There aren’t a ton of new additions in the animation toolset within Maya 2016, but there are a few, one of which has me interested. Maya now allows you to set keys on translation, rotation, or scale independently via hotkeys (or a button on the Animation shelf). So if you’re just animating along the TX, TY, and TZ, you can click the Set Key on Translate button. That might be useful, but I don’t think it really fits into my workflow.
What did catch my attention though was the new option to Set Key on Animated (attributes). What’s that mean? Rather than using the Set Key option, which keys ALL attributes, you can use that button to create a key only on attributes that previously had animation on them. That’s not something I’d use every day, but I could see it being a real time saver when utilizing the layered animation workflow.
The Hypershade window has undergone a lot of changes in this latest release of Maya. The Node Editor replaces the workspace, attributes are directly accessible in their own pane, and a more robust material preview pane has been added. All of a sudden it feels like everything you need for shader development is all in one place. That’s pretty cool.
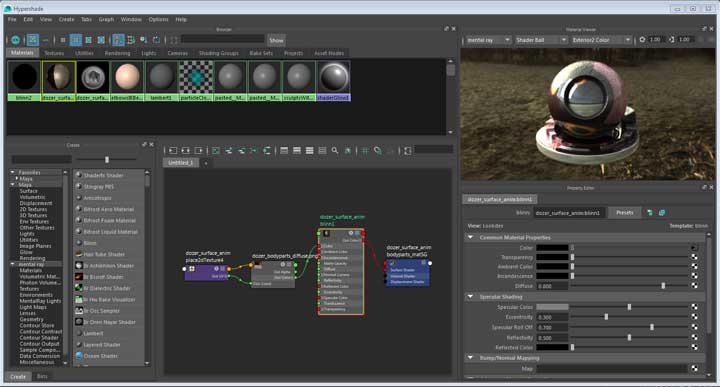
Customizing your layout in the Hypershade
To really take advantage of the Material Viewer you’ll want to make sure to install Mental Ray. You’ll then be able to preview your shaders on a number of different geometry shapes, along with image based lighting (IBL). You can even bring in your own custom .EXR files for the lighting sim.
Ever since Autodesk acquired Mudbox I’ve been interested to see how that might play into Maya’s modeling toolset. Maya 2016 now includes a set of sculpting tools. Just switch over to the Sculpting shelf to check them out.
Quite a few base meshes have also been provided to quick start your sculpting fun. Just open the Visor and check out the Sculpting Base Meshes. This could be a ton of fun for you modelers out there.
Maya 2016: New Sculpting Toolset
What’s also interesting is to see the inclusion of the Blend Shape and Blend Shape Editor to the Sculpting shelf. I can really see how powerful that combination could be. Artistically adjust and tweak the face of a character with the sculpting tools and quickly generate a bunch of new blend shapes? That could be pretty cool.
Whenever working with any piece of software, I always like to learn the hotkeys (keyboard shortcuts) for the tools I frequently use. I also like to create new hotkeys for my favorite tools so they’re really easy to access, but some applications make that process more difficult than it needs to be. If it’s too hard to change, I get lazy and live with it.
Maya 2016’s new Hotkey editor makes those changes a snap. It also makes it incredibly easy to quickly figure out which keys do what. As I mentioned earlier I’m all about being as efficient as I can be when animating. I’m excited at the prospect of being able to easily customize my keyboard layout.
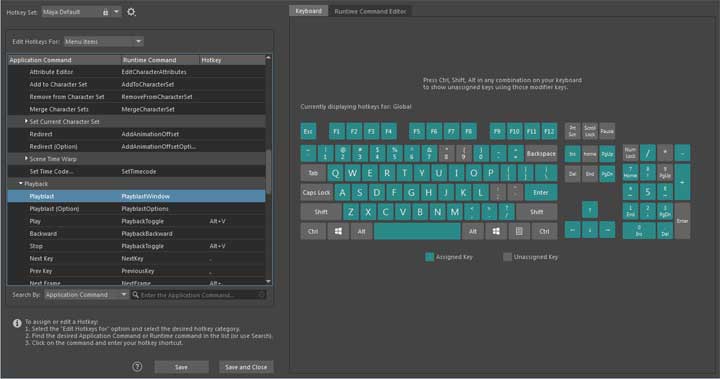
Maya 2016 Hotkey editor
You can even create multiple Hotkey Sets and easily switch between them, which really opens up the possibilities. It’s also incredibly simple to see which keys already have something assigned to them. Mouse-over a key, and it’ll show you what’s assigned to that key (including combinations with shift, alt, etc.). Powerful and artist friendly? Sign me up.
The Display Layer now includes a new option called Hide on Playback. If you specify that option, then any objects contained within that display layer will not play during playback (or playblasts).
I can see that being really convenient in a few situations when animating. For one, when I bring any reference into Maya (video or stills), I don’t really care for those to be included in my playblasts. So I could see using it in that situation.
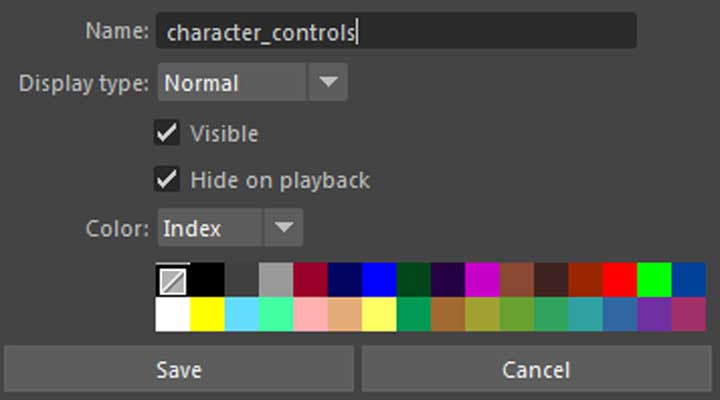
Maya 2016 Hide on Playback
Another way to use it would be if you were working on two characters interacting. Have each of them on their own display layer, and set that option while working on the other character. You’ll be able to see both characters for posing purposes, but then you can easily evaluate the motions of them independently.
Perhaps not a feature I’d use everyday, but it has potential to really come in handy.
Animation Mentor offers a six-week Maya workshop for animators. Learn to navigate the interface, the most common tools used for animators, and start animating with actual rigs!