We have an awesome “how-to” tutorial from our veteran mentor and Hybride Lead Animator, Steve Cady! From preparation, blocking, to clean-up, learn Steve’s workflow on how he would animate a quadruped walk cycle. Read, get inspired, and animate that creature!
– The Animation Mentor Crew
- Preparation
- Blocking
- Clean-up
Having worked on several films that require realistic creature animation, such as Narnia, Avatar, The Waterhorse, I believe it is essential to not underestimate the importance of PREPARATION!
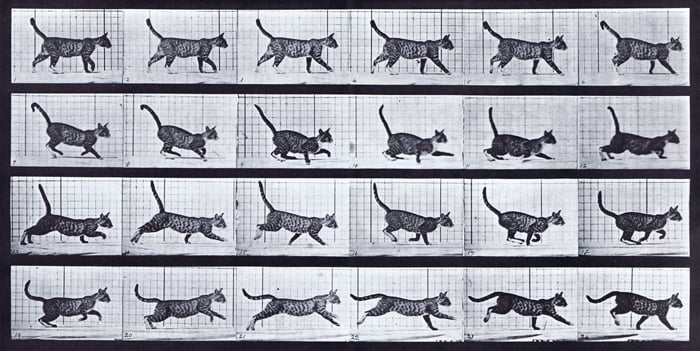
My first step: I take the time to study the basic anatomy of the animal in question; paying attention to how its body parts are connected to help me understand how to move the body in an accurate way. I use references. I would shoot the reference myself, or use references that are available online. “The Animal Motion Show” from Rhino House has a great collection of DVDs that help you study animal and human motions from various angles and levels of detail.
Keep in mind that, in my experience, most studios have a library of video references available for you to use. It will only improve your animation.

Rhino House is a service that offers animal video references for artists. Animation Mentor students get 15% off to use Rhino House references.
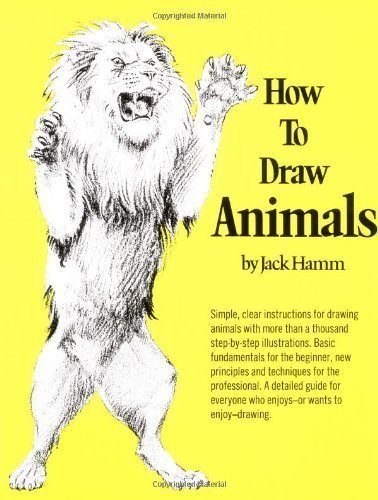
How to Draw Animals is a helpful book to get you familiar with animal anatomy and to quickly thumbnail animals.
My next step: I take the time to sketch and thumbnail my ideas on paper before committing to the computer because setting down poses in Maya can be time consuming, more so with a very realistic creature. Thumbnailing will save you lots of time and frustration down the road.
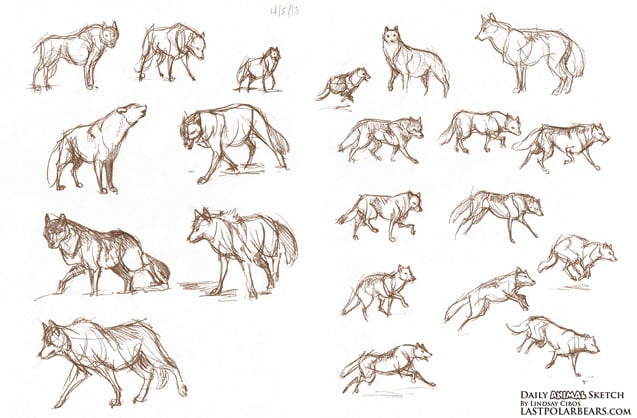
An example of thumbnailing sketches
For this example, lets use a quadruped walk-cycle. I begin by identifying the main keys, just like a human character. The first poses I block are the full and mid-strides; I have noticed that whenever the front legs are in a mid-stride position the back legs are in a full-stride position, and vice versa.
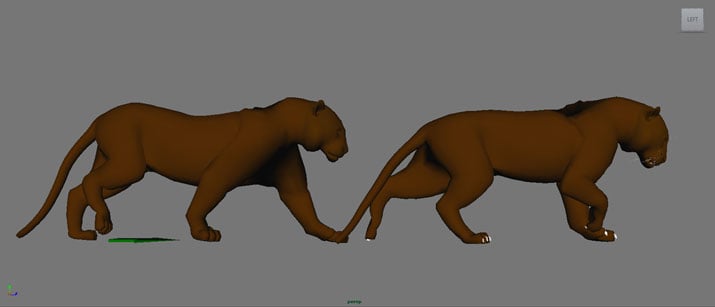
Front legs are in mid-stride and the back legs are in full-stride.
Hips are very important, they act as the engine or driving force in a walk. The head and shoulders are mainly used for steering of the character. Remember to lead with the eyes!
I apply the same mechanics to each pair (shoulders and front legs and hips and back legs) as I do to a human character. Each pair is dealt with as a individual one. For “mechanics”, I am referring to rotation in the hips, center of gravity, the arcs, etc.
Hips are the driving force of the walk, head and shoulders “steer” the creature.
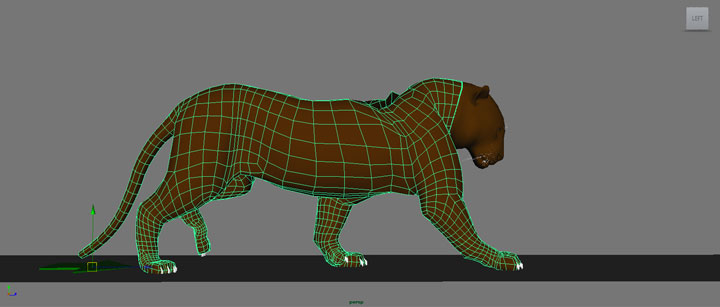
As I block out my poses in Maya, in stepped mode, I duplicate the geometry of each pose and I assign them individually to a layer (so I can hide and “unhide” them later). I do this because it gives me a visual aid (targets) when it comes time to refine the curves in the graph editor. As I translate the animal forward to the next pose, I make sure that the placement of the body and feet make sense. See picture below. The translations and rotations of the hips are similar to the human walk; remember that the hips may have a bouncier translation than in a human walk.
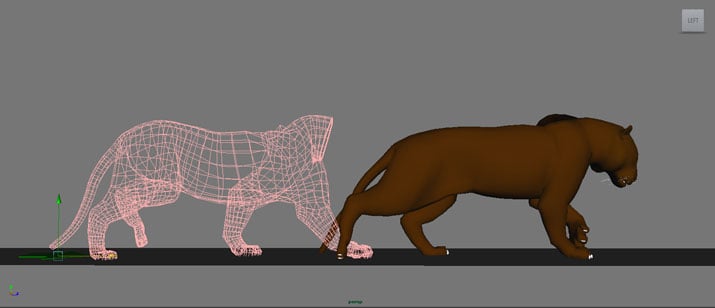
Block out poses in Maya in “stepped” mode. Steve duplicates the geometry in each pose to give him visual targets when it comes time to refine the curves in the graph editor.
Continue with the steps mentioned above; translate, key major poses, focus on full and mid-stride poses. After I’m done with that, I add my breakdowns, which in this case would be the extreme high and low positions of the hips and shoulders.
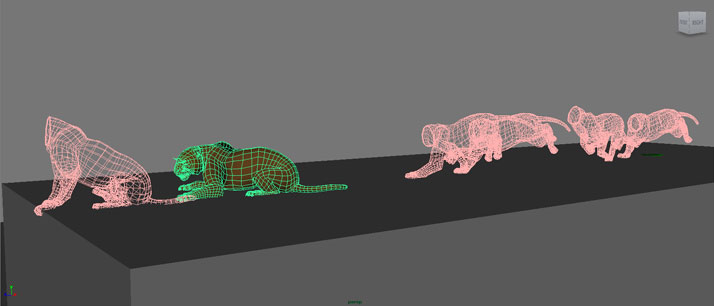
I like my tangents in the Graph Editor to be weighted. I also unlock them. Weighted tangents and having them unlocked give me greater control. Afterwards in spline mode, I trim down the timeline to the first couple of keys to begin refining (see image below). I do this because it helps me focus on the first key poses and not worry so much the animation further ahead. I “unhide” the duplicate geometries that I need, created at the beginning of the blocking phase, this will give me visual targets when I refine the curves. When polishing I always begin with the core (hips spine and head). Here’s a tip: I will hide other body parts in my perspective window to keep things uncluttered ex; tail, legs, etc. When I am happy with the first pass of polish in that section, I extend the timeline to the next few keys and I repeat the process.
Happy animating!
Steve Cady graduated from Classical Animation at Sheridan College, in Ontario, Canada and has been a professional animator for 18 years. Steve worked on video-games, TV, and feature films for various studios such as for WETA Digital in New Zealand. Some of his film credits include: Jurassic World, Tomorrowland, The Hunger Games: Catching Fire, Pacific Rim, The Smurfs 2, and Avatar. Steve is a veteran mentor since 2005 and taught Animation Basics, Body Mechanics, Introduction to Acting, and the Creature Courses.