Animators around the world have debated the use of splining in 3D animation. Some swear by splines; some would be quite content to never lay eyes on a graph editor again. DreamWorks animator and mentor Drew Adams recently hosted a special seminar for students on “Splining Made Easy.” His secret – it all starts with solid blocking and timing. Read on for more of Drew’s tips on splining.
– The Animation Mentor Crew
—
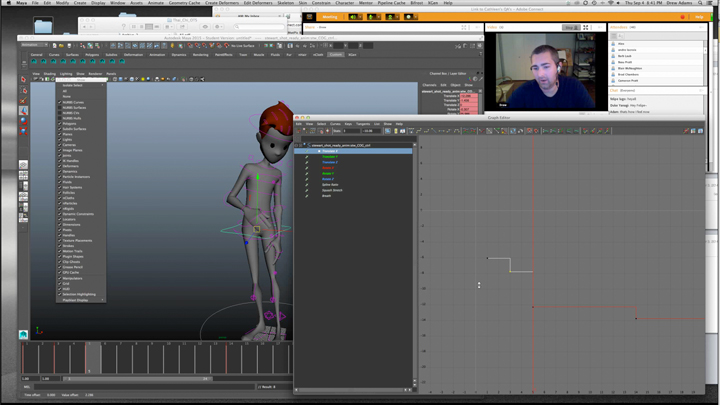
TIP #1 Start in stepped, then transition to splined.
Drew’s workflow is to start in stepped mode and then transition to splined after blocking out his key poses, setting breakdowns, and working out the initial timing. This allows him to be artistically in control of the timing between poses. Drew says, “Treat the computer like an in-betweener. Trust it only to go from A to B. If you want it to do anything else, you have to put that information in there.”
TIP #2 Study your reference.
Watch your reference. Then watch it again. Study it frame by frame. Study each body part and how they relate to other parts of the body. Study it so much so that you know exactly what is happening at each point in the shot. Once you know that, you as the animator, can make the choices of exaggeration, arcs, timing, spacing, etc. that will bring life to your animation.
TIP #3 Make sure your blocking is solid by understanding body mechanics.
To have solid blocking, you must have solid body mechanics. Know each body part, how it moves sequentially, and how it relates to other body parts. For example, “The hips translate to the left first, and then they rotate up, and then the shoulders twist, and then the arm raises from the upper arm, and then the arm twists, and then the arm starts to untwist, and then the hips finish translating, and then the head comes across.” If you don’t know the body mechanics sequence when you start setting your poses, then you haven’t studied your reference enough.
TIP #4 Use the controls in the same way every time you key your poses.
Drew always starts with the hips, then moves up the spine, then finishes with the head. By using the repeated pattern of hip-spine-head, he can quickly manipulate the rig and set his key poses efficiently.
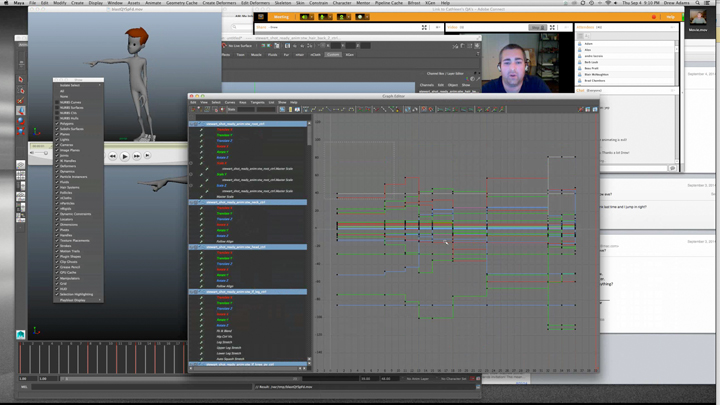
TIP #5 Nail your timing in stepped mode before switching to splined mode.
Once your poses are set, it’s time to add timing (pun intended). Using your reference as a guide, adjust the timing of your keys – adding a frame or two here, cutting one there – until the timing feels right for your shot. Nailing the timing while still in stepped mode will make the cleanup of your curves infinitely easier in splines.
TIP #6 After switching to splines, first check your moving holds.
Splining by nature will dilute the timing you set in stepped mode, since the computer is mathematically computing how your character is getting from point A to point B. Have a moving hold in your shot? Check that one first and be sure to adjust the timing at that hold, adding keys if necessary, to retain the timing you set in stepped mode.
TIP #7 Adjust spacing and timing to keep your animation from feeling watered down.
Again, the nature of splines is to mathematically create the journey from point A to point B. If your shot feels watered down, you can adjust timing or spacing to add life back into your character. Push your curves to achieve a bigger range of motion, or speed up your keys to play out the actions faster.

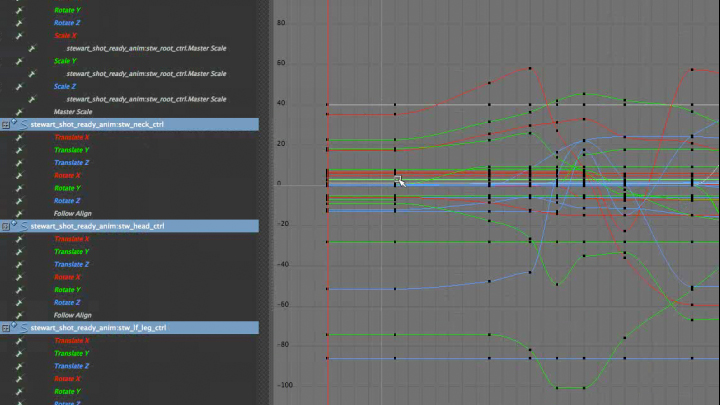
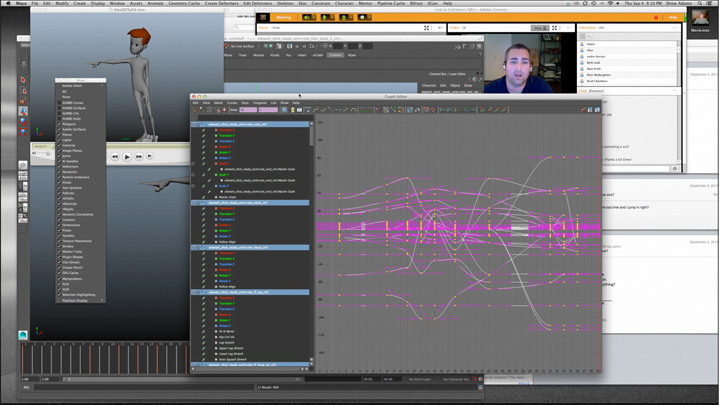
TIP #8 Comb through the graph editor, channel by channel, to clean up your curves.
You want your curves to be clean; not wobbly. Drew compares the curves to a roller coaster track – you’re either flat-lined (and nothing is moving) or you’re accelerating going down or slowing down coming back up, but you want to make sure there are no bumps on the course.
—
Drew Adams is currently an animator for DreamWorks Animation. With 10+ years of experience, his credits include Mr. Peabody and Sherman, The Croods, Puss in Boots, and Kung Fu Panda 2. Drew is a favorite mentor for Class 3: Advanced Body Mechanics.
—
Want more animation tips & tricks?