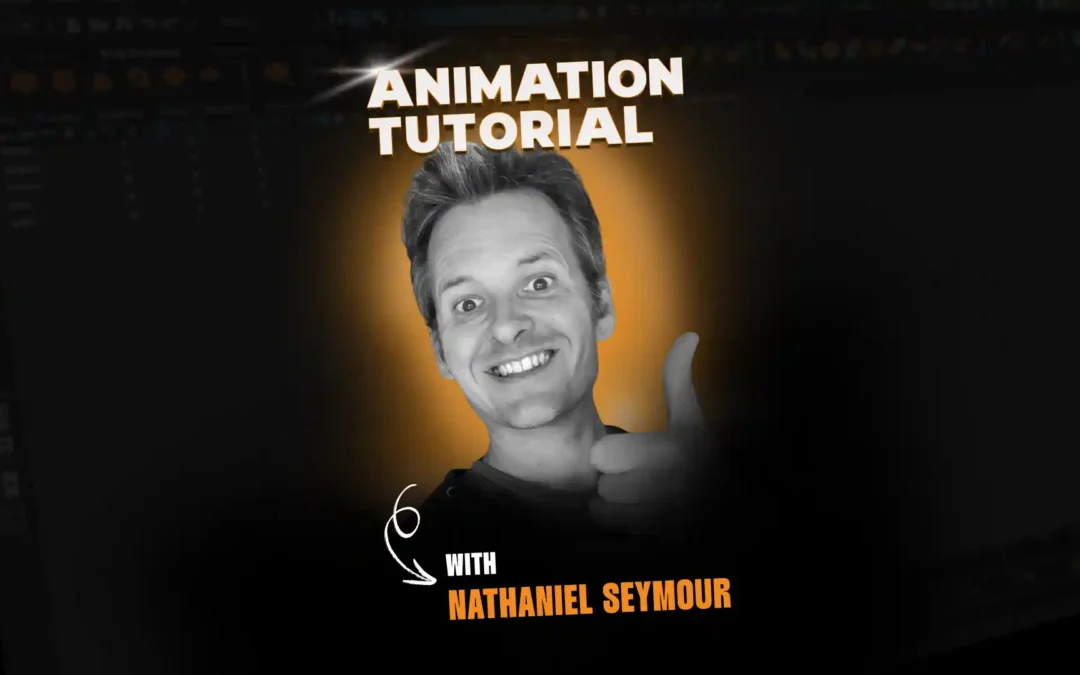

Animator Nathaniel Seymour walks through animating a character gripping and releasing a prop using parent constraints and constraint keyframing in this recorded video tutorial. He builds a shot where a character pulls a giant match out of a bucket, accidentally strikes it, and sets off a cannon, showing along the way how to constrain a prop to a character’s hand, key the grip on and off at the right frames, and layer the body’s follow through around the action.
Meet Nathaniel Seymour
Nathaniel is a 2009 graduate of the Animation Mentor Character Animation Program, with credits spanning visualization and character animation for film, TV, VR, and music videos. His work includes Dune: Part 1, Godzilla vs. Kong, Pokémon Detective Pikachu, and Clifford the Big Red Dog.
Setting Up the Story
Nathaniel starts with his video reference: a character reaches into a bucket for what looks like an oversized match, gives it a tug, and finds it stuck. He pulls harder, accidentally strikes the match against a nearby object, and gets so distracted watching it flame up that he misses what happens next.
In the 3D version, that “nearby object” turns out to be a cannon. The match strike lights the fuse, and the character ends up launched off screen. Nathaniel mentions that seeing the cannon prop in the asset library is what inspired this version of the shot in the first place, rather than a simpler pick-up-and-set-down action.
Parent Constraint Basics
The core rigging tool for this shot is a parent constraint. Before applying one, Nathaniel identifies which object is the parent and which is the child: the parent controls the movement, and the child follows it. For a hand holding a prop, the hand is the parent and the prop is the child.
He selects a base thumb rotation control on the hand as the parent, since it is a control he rarely moves for other purposes, then shift-selects the match as the child. In the parent constraint options window, he checks maintain offset so the prop keeps its grabbed position instead of snapping into a default pose, sets layer to override, and enables all three translation and all three rotation axes so the prop follows the hand completely.
Keying the Grip On and Off
Applying the constraint makes the prop follow the hand for the entire shot, which is not what’s needed since the character should only be holding the match after he grabs it. Selecting the constraint keys reveals a Blend Parent 2 attribute, which defaults to zero.
Nathaniel keys Blend Parent 2 at zero on the frame just before the grab, then keys it to one on the very next frame. At zero, the prop ignores the constraint entirely; at one, it is fully locked to the hand. This single attribute is what lets him control exactly when the grip engages, without affecting any of the animation before or after that frame.
Animating the Yank in Layers
With the grip keyed, Nathaniel animates the hand first, isolated from the rest of the body. The character tugs at the match, it doesn’t budge, and he pulls back briefly before committing to a second, stronger pull that finally frees it. Working this way, on just the hand and arm in IK, lets him settle the timing and intensity of the pull before touching anything else.
This layered approach, getting one part of the action right before building outward, is something Nathaniel uses across most of his shots. Once he is happy with the hand’s motion, he moves on to animating the rest of the body to react to it.
IK vs FK for the Arm
Nathaniel gives a quick primer on the two ways to animate an arm. IK, or inverse kinematics, works like a puppet on strings: moving the hand control pulls the rest of the arm along with it. FK, or forward kinematics, works more traditionally, rotating the shoulder, then the elbow, then the hand in sequence.
He also shows how to blend an arm from FK to IK mid-shot using an FK/IK blend attribute, keying it from zero to one over several frames so the arm transitions smoothly between the two setups. For this particular shot he keeps one arm in IK, but demonstrates the blend technique for anyone animating a shot that needs both.
Following Through with the Body
Once the arm’s timing is locked, Nathaniel builds the rest of the body’s reaction around it. The spine rotates upward through several control sections, the shoulder drops as the arm pulls, and the character’s midsection rises and rotates to support the motion.
The head gets its own separate timing: rather than moving up in sync with everything else, it dips down slightly first before catching up. Nathaniel adjusts the timing on the graph editor so these different body parts don’t all arrive at the same instant, which keeps the whole pull from feeling mechanical. He also smooths out some of the motion curves that had gone flat, giving the arcs a more natural, continuous feel.
Releasing the Prop and Final Polish
The same Blend Parent 2 attribute used to start the grip is what ends it. As the cannon fires and launches the character off screen, Nathaniel keys the attribute back down from one to zero, releasing the match from the hand constraint at the exact moment the character lets go.
For the finished shot, Nathaniel adds the match’s flame, the cannon’s fuse, and the blast effect in After Effects, since none of that is visible in the raw Maya playblast. He notes that the whole idea for the shot came from simply looking at the cannon prop and imagining what it could do, a reminder that browsing a scene’s assets can spark ideas beyond the obvious action a prop suggests.
Follow us: LinkedIn | Instagram | YouTube
Want to be mentored by professional animators?
At the core of Animation Mentor are our 3D Character Animation and Game Animation programs. Follow your animation dreams by learning from animators at studios like Disney, DreamWorks, Pixar, ILM, Riot Games, Netflix, and Blizzard!